Guide on How to Install a Water Heater Expansion Tank
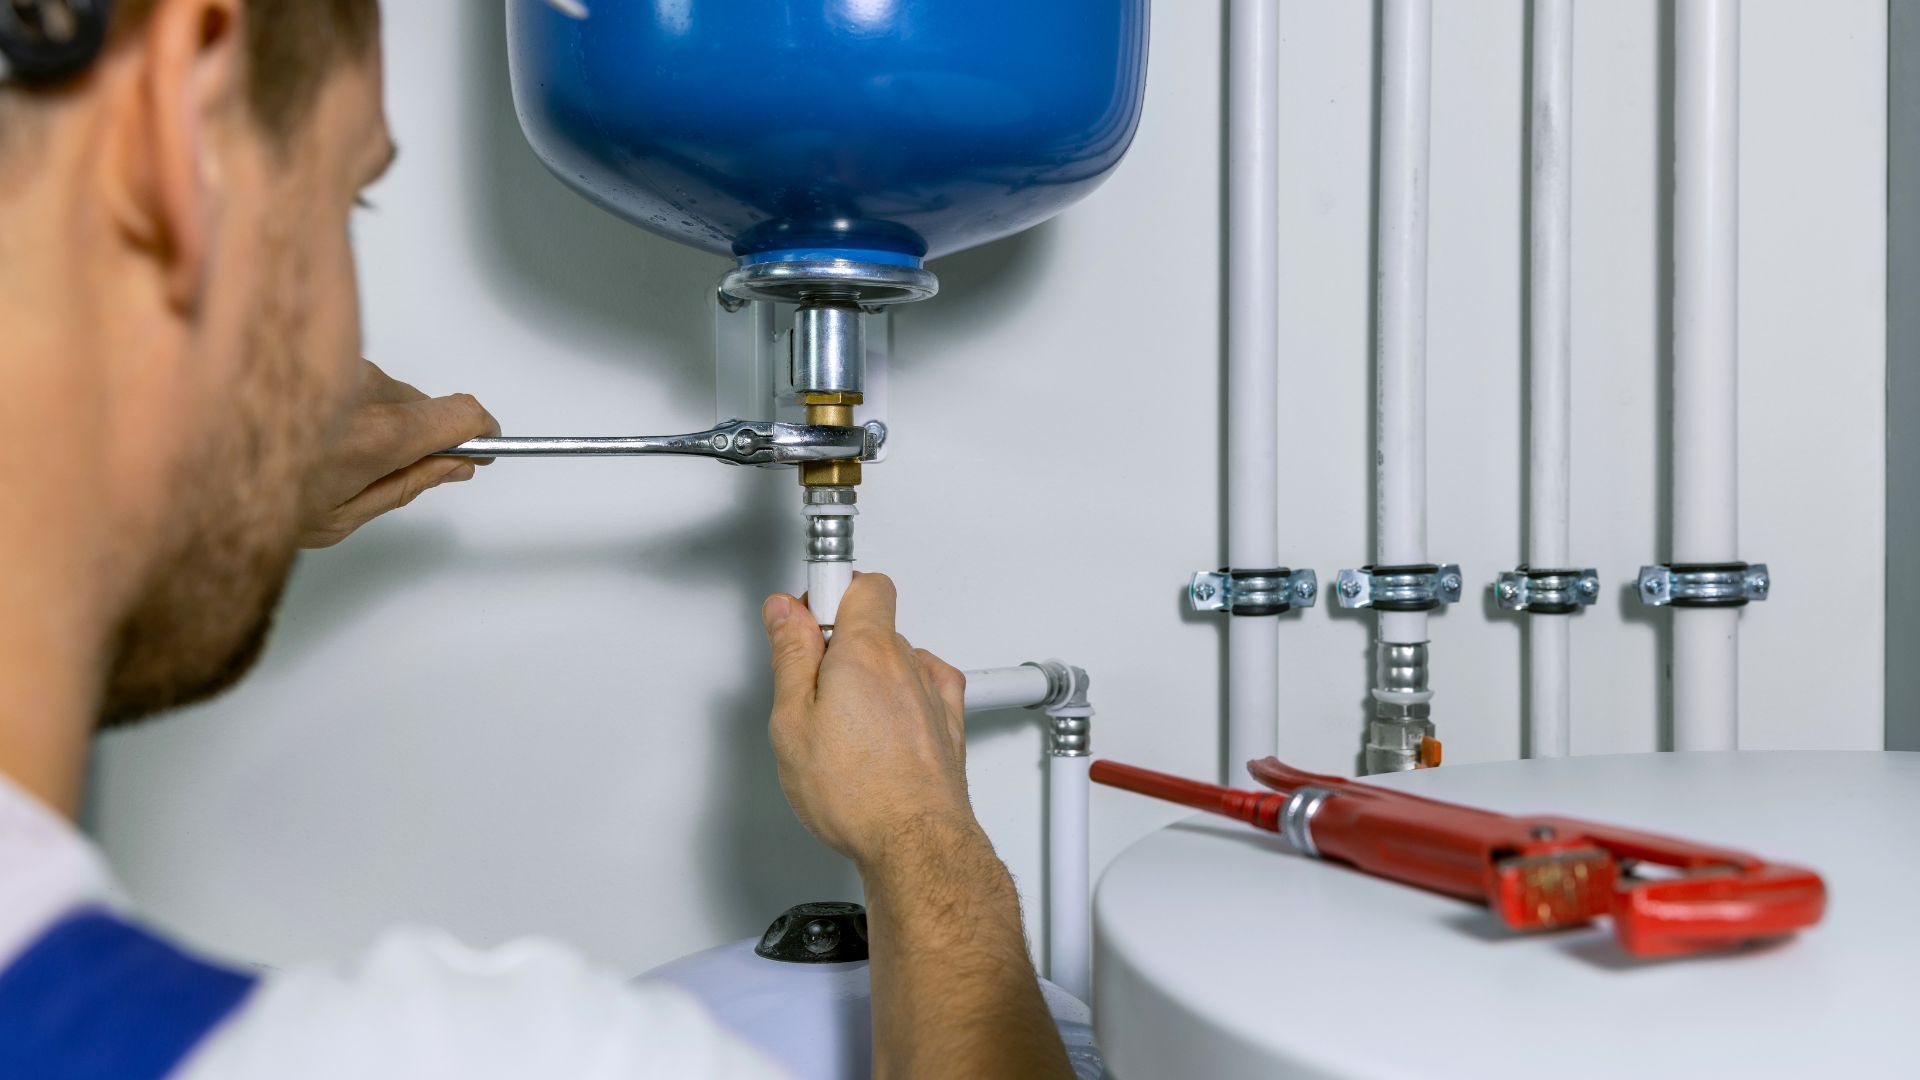
If you're looking to improve the performance and extend the lifespan of your water heater, installing an expansion tank is a wise decision. Water heater expansion tanks help manage the increased pressure that occurs when water heats up, preventing potential damages to your plumbing system.
This article will walk you through the process of installing a water heater expansion tank, providing you with expert insights and valuable tips to ensure a successful installation.
How Does a Water Heater Expansion Tank Work?
Before delving into the installation process, it's essential to understand how a water heater expansion tank functions. As the water in your water heater heats up, it expands, causing a rise in pressure within the tank.
In a closed plumbing system, this pressure increase can lead to leaks, damage, or even burst pipes. An expansion tank acts as a safety valve, absorbing the excess pressure and allowing the heated water to expand without causing any harm.
Tools and Materials Needed
Before you begin the installation, make sure you have the necessary tools and materials ready. Here's a comprehensive list of what you'll need:
- Adjustable wrench
- Pipe cutter or hacksaw
- Screwdriver
- Teflon tape
- Safety goggles
- Water heater expansion tank kit (including the tank, tee fitting, and connection hoses)
- Safety Precautions
Safety should always be a top priority when working with any plumbing system. Follow these safety precautions to ensure a secure and accident-free installation:
- Turn off the power
Before starting the installation, turn off the power supply to your water heater to avoid any electric shock hazards.
- Shut off the water supply
Locate the cold water supply valve connected to your water heater and turn it off to stop the water flow.
- Allow the water heater to cool down
Hot water can cause burns, so it's crucial to wait for the water heater to cool down before proceeding.
- Wear safety goggles
When cutting pipes or making any connections, protect your eyes with safety goggles to prevent injuries.
Step-by-Step Installation Guide
Follow these step-by-step instructions to install a water heater expansion tank correctly:
Step 1: Determine the Suitable Location
Select a suitable location for your expansion tank. It's usually installed on the cold water supply line, close to the water heater.
Step 2: Turn off the Water Supply
Turn off the cold water supply valve connected to the water heater. This will prevent water from flowing while you install the expansion tank.
Step 3: Drain the Water Heater
Attach a hose to the drain valve at the bottom of the water heater and direct the other end to a drain or outside. Open the drain valve to allow the water heater to drain completely.
Step 4: Measure and Cut the Pipes
Measure the length needed for the pipes that will connect the expansion tank to the cold water supply line and cut them to size using a pipe cutter or hacksaw.
Step 5: Install the Tee Fitting
Wrap Teflon tape around the threads of the tee fitting and screw it onto the cold water supply line.
Step 6: Attach the Expansion Tank
Screw the expansion tank onto the open end of the tee fitting. Ensure the tank is oriented correctly with the air valve facing up.
Step 7: Connect the Pipes
Attach one end of the cut pipes to the tee fitting and the other end to the expansion tank. Use adjustable wrenches to tighten the connections securely.
Step 8: Turn on the Water Supply
Once all connections are securely tightened, turn on the water supply valve. Check for any leaks around the connections.
Step 9: Check for Proper Pressure
With the water supply turned on, let the water heater fill up. Check the pressure gauge on the expansion tank; it should read the same as your main water pressure.
Tips for a Smooth Installation
Always follow the manufacturer's instructions and guidelines provided with the expansion tank kit. Double-check all connections for leaks before finishing the installation. If you encounter any issues during the installation, don't hesitate to consult a professional plumber.
FAQs
Can I install the expansion tank by myself, or do I need a professional plumber?
Installing a water heater expansion tank is a relatively straightforward process, and many homeowners can do it themselves. However, if you are not confident in your plumbing skills or encounter any challenges during the installation, it's best to seek help from a professional plumber to ensure a proper installation.
How long does it take to install a water heater expansion tank?
The installation time can vary based on your plumbing experience and the complexity of your water heater system. Generally, it should take around 1 to 2 hours to complete the installation.
What size expansion tank do I need for my water heater?
The size of the expansion tank you need depends on your water heater's capacity and the incoming water pressure. It's essential to refer to the manufacturer's guidelines or consult with a professional plumber to determine the appropriate size for your specific water heater system.
Can I install an expansion tank on a tankless water heater?
No, expansion tanks are not required for tankless water heaters. These units are designed to heat water on-demand and do not store hot water, eliminating the need for an expansion tank.
How often should I replace the expansion tank?
Expansion tanks typically have a lifespan of 5 to 10 years. However, it's essential to check the manufacturer's recommendations for your specific model and replace it as needed to ensure its proper functioning.
What should I do if I notice a leak after installation?
If you notice a leak around the expansion tank or any of the connections, immediately turn off the water supply and tighten the connections. If the leak persists, contact a professional plumber to inspect and resolve the issue.
Conclusion
Installing a water heater expansion tank is a smart investment that can protect your plumbing system and extend the life of your water heater. With the right tools, materials, and guidance, you can successfully complete the installation and enjoy the benefits of a well-functioning water heater system.
Remember to prioritize safety, follow the step-by-step instructions, and don't hesitate to seek professional assistance if needed. Now you're equipped with the knowledge and confidence to install a water heater expansion tank efficiently and effectively.